Sunday, August 28, 2011

Follow-up to Oven Dried Tomatoes - Halftime Pasta!

halftimepasta 001

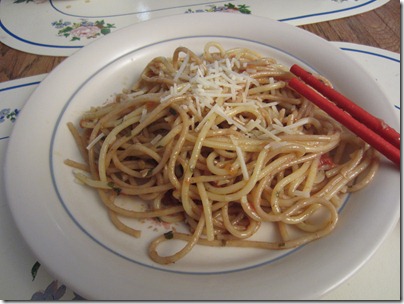
Key note: Chopsticks were just used for serving, not eating. 

Continuing on with the theme of noodles, today’s post is a dish called Halftime Linguine, from The Wiseguy Cookbook. Though in my case it is more Halftime Spaghetti, since our family purchased a large amount of it from Costco, and I’m not going to fuss over the difference in thickness. Especially given the thickness of my wallet. Given the versatility of the sauce that comes from this recipe I think a lot of medium sized pasta could hold up to it actually, though a thin pasta like Angel Hair would probably be a bit too drenched if you are too liberal.

Halftime refers to the fact that Henry Hill could prepare this during halftime during a football game and impress his friends, and it was certainly a quick recipe.

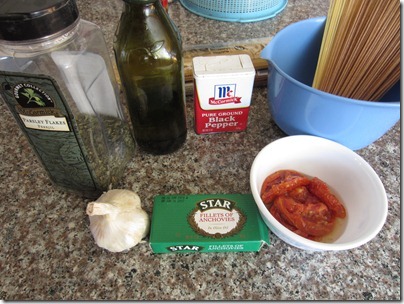
The arrangement is simple. Some parsley, olive oil, black pepper, pasta, garlic, a tin of anchovies and some sun-dried or oven dried tomatoes.

halftimepasta 003

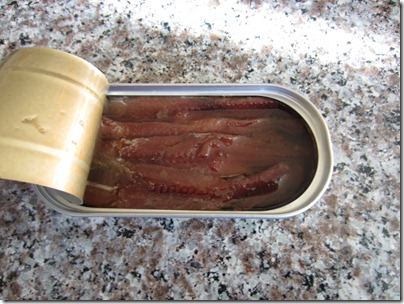
The real star power is in the anchovies. So if you can’t stand the idea, maybe you should stop here. But for the bold, move onward! Note, for this recipe,  you won’t be using all of the anchovies. It would probably work if you doubled everything.

halftimepasta 008

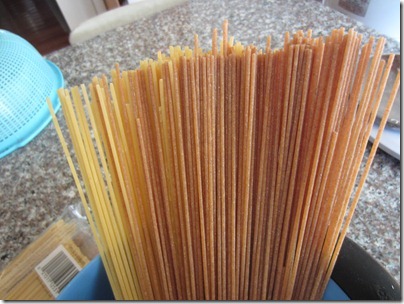
I used a mix of regular and whole grain pasta, so they can balance off of each other a bit. It’s also a rather half hearted attempt at healthier eating. I about ten ounces of pasta, the original calls for eight however.

halftimepasta 006

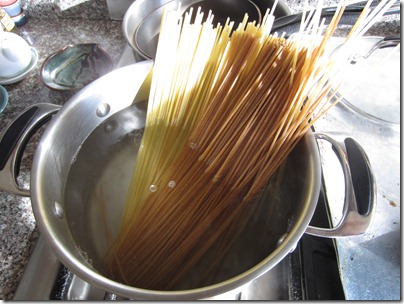
This is where most of the waiting comes into play, so be sure to get that pasta into some unsalted boiling water in the early going. Trust me, I always salt my water, but I’m not this time. The sauce to accompany it is very seasoned from the fish.

halftimepasta 017

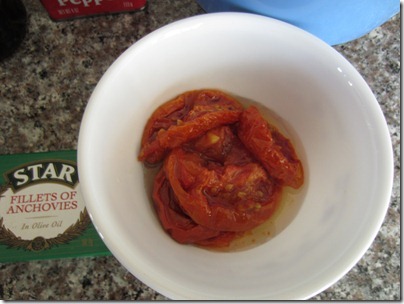
A half cup of the oven dried tomatoes will really stand out. I’m also using the oil it was stored in to kick start the recipe.

halftimepasta 007

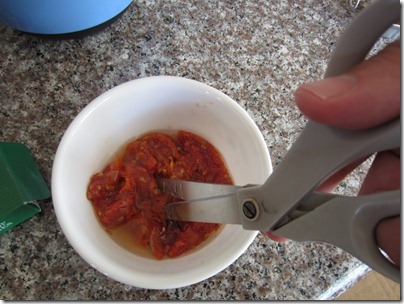
Quick tip: Some scissors to cup up the tomatoes saves me from needing to clean oil off of a cutting board.

halftimepasta 009

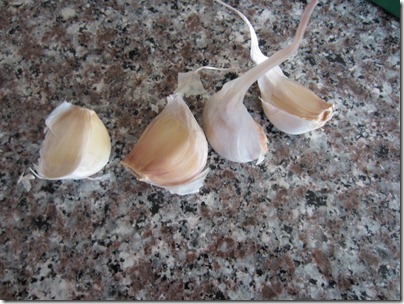
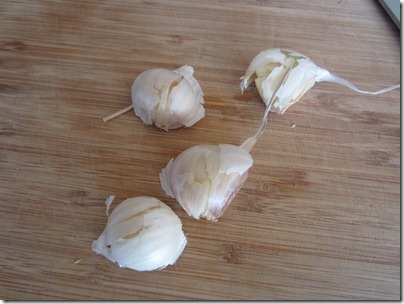
Some cloves of garlic, always necessary in Italian cooking.

halftimepasta 011

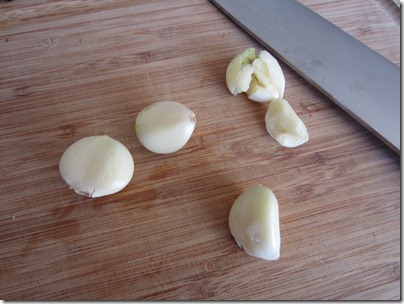
I like the smash method of peeling, though an Italian roommate once told me I was cheating. But fuggadaboutim.

halftimepasta 014

It works.

halftimepasta 015

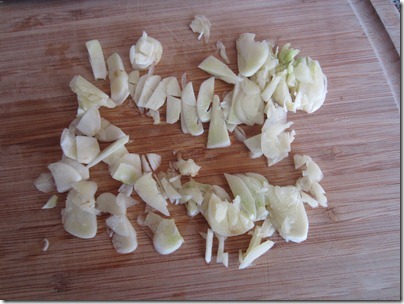
Especially when you’re just going to sliced it up thinly like this.

halftimepasta 016

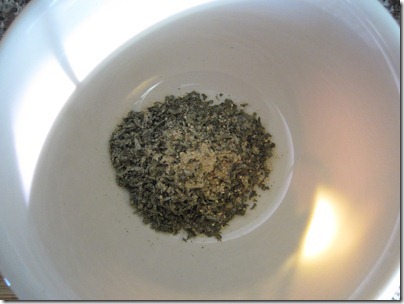
Parsley and pepper will be added together, so you can put them into a bowl for easy delivery later.

halftimepasta 018

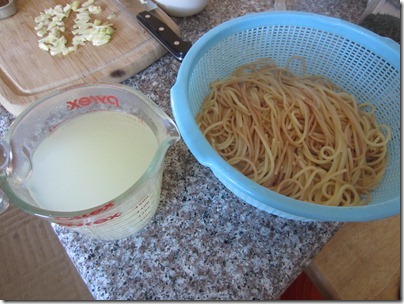
When the pasta is done, reserve a cup of pasta water and set the pasta aside. I saved two cups just in case.

halftimepasta 019

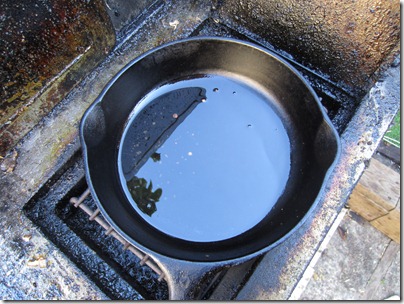
The olive oil from the tomatoes, and a little extra help lubricate a skillet over medium low heat. I’m cooking outside since it was such a lovely evening.

halftimepasta 020

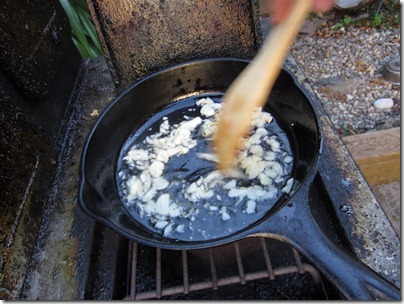
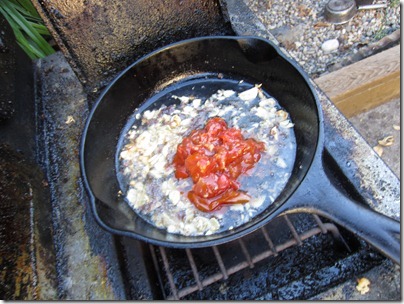
Garlic first. We want it to cook for a minute but not browning. Browning is bad, at least too much too soon.

halftimepasta 022

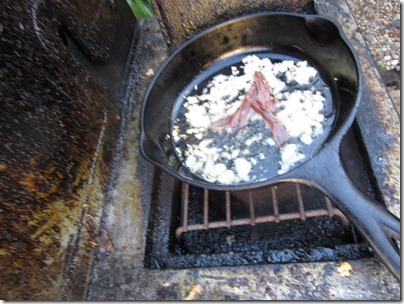
Then, add four or five of the anchovies. Mash it up with your spoon or other utensil to incorporate it into the oil.

halftimepasta 023

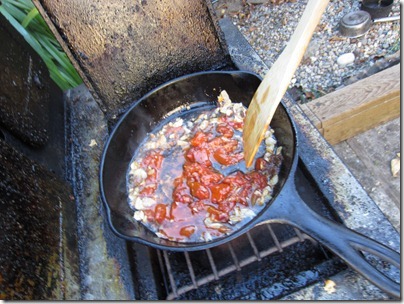
Then the tomatoes.

halftimepasta 025

I beat this in as well, though you may not have to.

halftimepasta 026

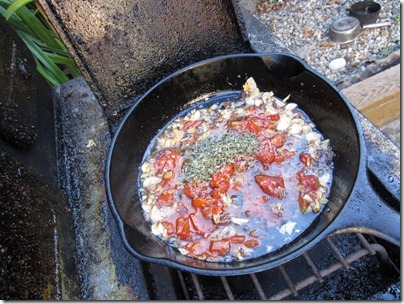
Parsley and pepper follow the tomatoes quickly.

halftimepasta 027

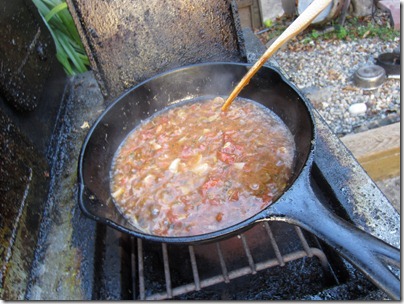
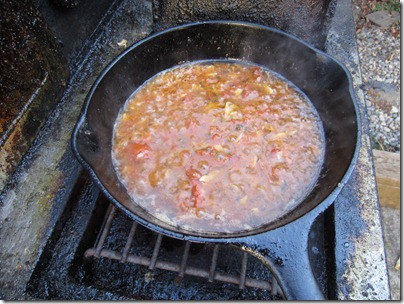
And finally half a cup of the pasta water is added. Keep stirring this up. You may want to add some more of the pasta water at your discretion, depending on how thin of a sauce you like.

halftimepasta 029

After cooking this mixture for three minutes, maybe a couple more, we’re almost ready to serve.

halftimepasta 031

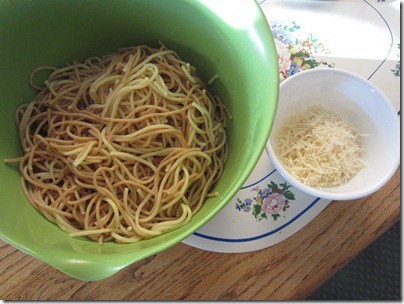
Get the pasta ready in a large serving bowl, perhaps with some grated parmesan on the side.

halftimepasta 032.1

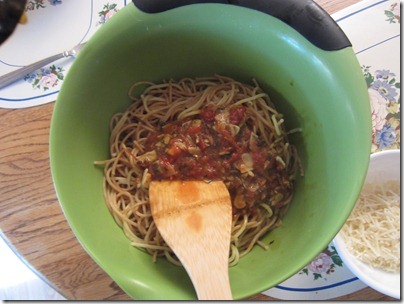
Pour in the sauce and toss. If you’re really into cheese you could add some now since the hot sauce would help melt it a little.

halftimepasta 032

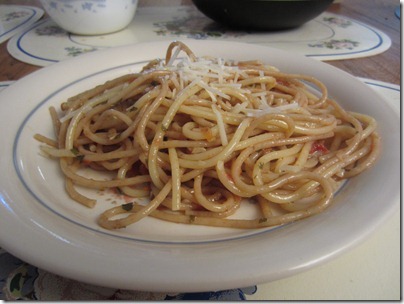
Finally, plate and serve. It doesn’t look like much, but there’s a ton of flavor in it.

halftimepasta 034

My normally picky brother gobbled so much of it up, I ended up having to make another batch!

Recipe adapted from The Wiseguy Cookbook by Henry Hill.

1/2 cup of olive oil (you can use some of the oven dried tomatoes’ oil to make up some or all of this)
4 cloves garlic, sliced thinly
4-6 anchovy fillets in oil, from a tin!
1/4 or 1/2 cup of sundried or oven-dried tomatoes
1/2 cup Italian parsley, or two teaspoons of the dried stuff
8-10 oz. of pasta of your choosing, linguine and spaghetti work well
1/2 tsp. black pepper
Grated parmesan (optional)

  1. Boil pasta as directed, but without salting the water! Reserve a cup of the pasta water when finished.
  2. Heat olive oil over medium low heat.
  3. Add garlic and cook without browning for a minute.
  4. Add your anchovies, and break up into oil thoroughly until they almost liquefy.
  5. Add tomatoes, parsley, pepper and half of the pasta water, and cook down for three minutes. Add more water and/or cook more as necessary.
  6. Add this tomato-oil-anchovy sauce to the pasta and toss thoroughly.
  7. Serve immediately, with the cheese if you like.

Thursday, August 25, 2011

You say tomato, I say tomato. Let’s call the whole thing a great project: Oven dried tomatoes.

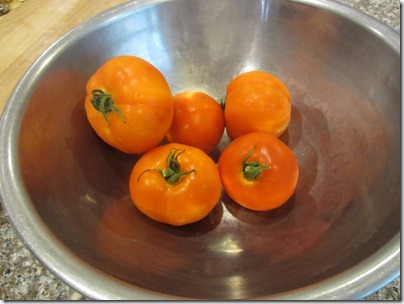
My aunt successfully planted a nice little crop of tomatoes and generously shared some with my family. They seemed to be about the right quality for a project I’ve wanted to pursue for a while: oven-dried tomatoes.

Oven dried tomatoes you ask? Yes. Such tomatoes are basically a substitute for sun dried tomatoes, and can be used in all the same recipes, but with a slightly different flavor. Perhaps less earthy but still has that nice depth of tomato flavor.

The process is simple. All you need are tomatoes (one pound is good), salt, olive oil and two cloves of garlic. A bit of forewarning, this is not an instant satisfaction recipe. The “cooking” takes six hours, then you need to wait a couple days after that. But the results are great, and you’ll have a versatile ingredient once you’re done!

First preheat your oven to 200 degrees F. Clean your tomatoes as per usual.

weddingfooddrink 068

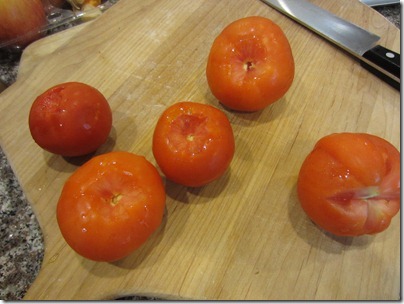
Remove the stems. I like to slice it in a circular fashion avoid waste.

weddingfooddrink 069

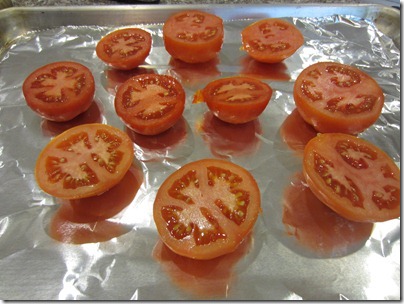
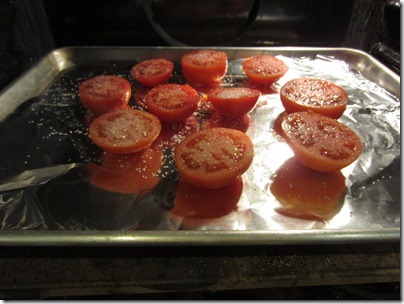
Then lay them cut side up in a foil lined pan.

weddingfooddrink 072

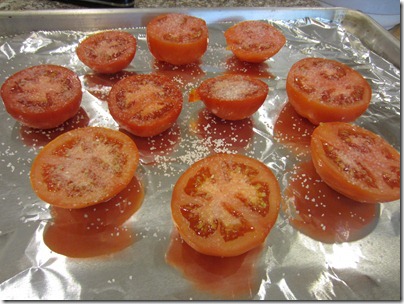
Next, generously sprinkle with salt. Be less generous with table salt, but more generous with kosher salt and other less potent salts.

weddingfooddrink 073

Then place the pan into the oven, and let it go for 6 hours.

weddingfooddrink 074

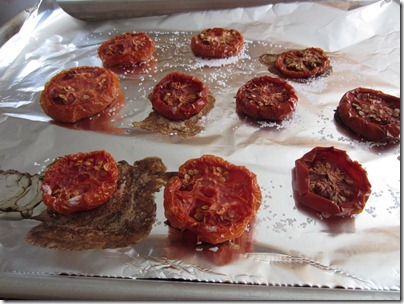
The end result shall look dry and shriveled but when touched, will still have quite a bit of squish to them. They’re not going to turn into cardboard by any stretch. Let them cool off a bit.

weddingfooddrink 075

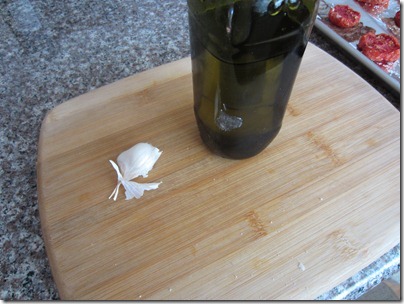
Once they’ve cooled to room temperature we can proceed! Get your olive oil and garlic cloves ready.

weddingfooddrink 077

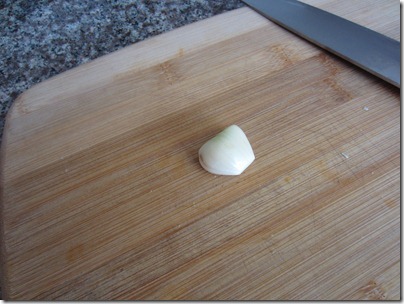
I had a rather monstrous garlic clove, so one was fine for this purpose.

weddingfooddrink 078

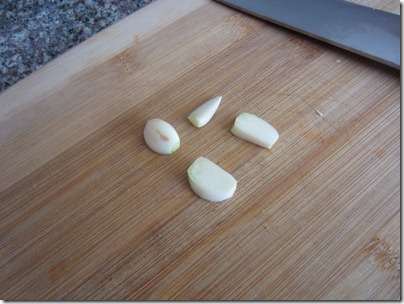
Cut your garlic cloves into halves. Or quarters if you have monster cloves like me.

weddingfooddrink 079

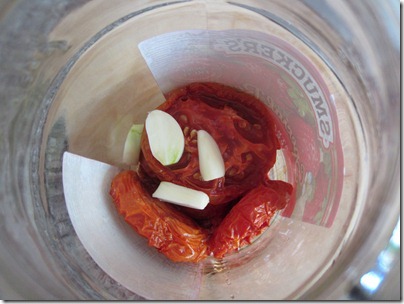
Place the tomatoes into a clean container. Glass would probably be best. Then toss on the garlic pieces.

weddingfooddrink 080

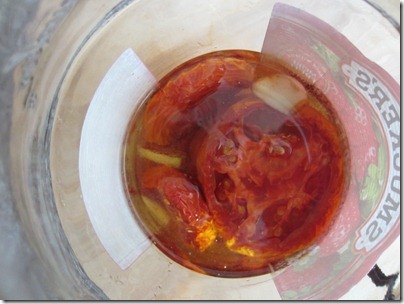
Then cover with olive oil! Put into the refrigerator and wait at least two days before using. This will keep for a couple weeks at least.

weddingfooddrink 082

My next post will be a recipe that uses some of these delicious tomatoes! Look forward to it!

Monday, August 22, 2011

Anime inspired me to do it! Yakisoba bread!

I’ll admit it, I love anime. It’s a great time killer, full of hilarity, and gives me a most likely skewed view of what Japanese culture is like. I wonder how many Japanese parents really do set up their kids in apartments and let them fend for themselves? Seems like a common situation say, 90% of the time.
Another side effect of watching all this anime is the desire to eat lots and lots of Japanese food. I mean sure, sashimi, that’s delicious, but it’s so ingrained into the American dining culture that it hardly raises any eyebrows.

But putting a noodle dish into a bun? That’s exciting! What is it that I speak of? Yakisoba bread of course!

Yakisoba is Japanese fried noodles, typically served as street food, I believe. And Yakisoba bread is this dish served in a split roll, with a bit of adjustment in seasoning.

For my first foray into the realm of slightly odder Japanese cooking I used this recipe from Asian Supper. I particularly liked that there was a recipe to make your own sauce, rather than relying on something store-bought.

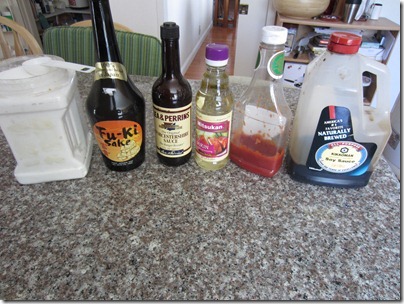
Sugar, sake, Worcestershire sauce, Mirin, Ketchup and Soy sauce are the ingredients.

yakisoba 005

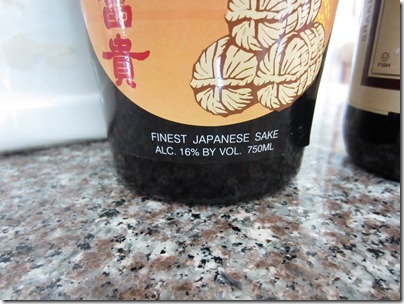
Be sure to use the “Finest Japanese Sake.” Or not. I just bought this brand because it was cheap and the name was hilarious.

yakisoba 006.1

Five tablespoons of Worcestershire sauce, four tablespoons of soy sauce, one tablespoon of sugar and sake and one teaspoon of Mirin are mixed together, and set aside.

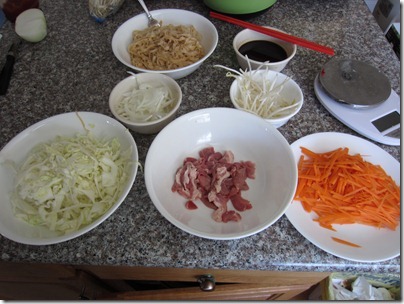
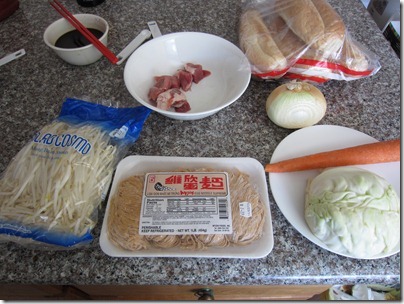
Here are the rest of the ingredients, perhaps with some errors. Pork (which should be shoulder or butt), onion, carrot, cabbage (which should be Napa, not this regular kind), egg noodles (which should be ramen, not this rather flat kind), and bean sprouts.

And the bread, which we’ll get to later. I have no idea what kind of bun is typically used for yakisoba bread, but I’ve a technique that will make it good for this purpose.

yakisoba 010

Now the ingredient prep.

yakisoba 011

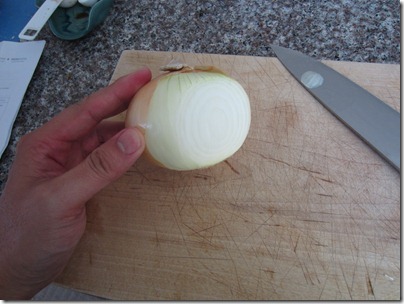
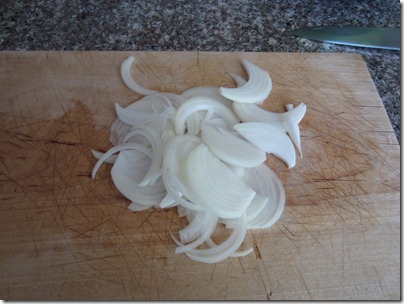
Healthy pile of onion, cut into half circles (half a small onion’s worth).

yakisoba 013

Cabbage sliced thinly.

yakisoba 014

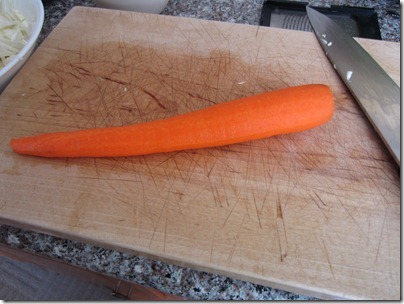
And carrots julienned. This is my first time actually julienning anything. Thankfully YouTube came to the rescue in helping me see exactly how it was done. Fittingly the guest chef is Japanese!

yakisoba 020

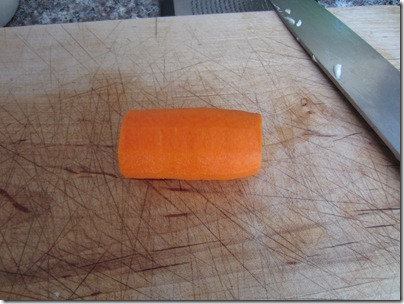
Basically cut the carrot into sections.

yakisoba 021

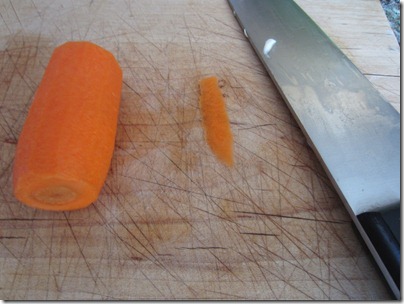
Slice off an end to make it stable.

yakisoba 022

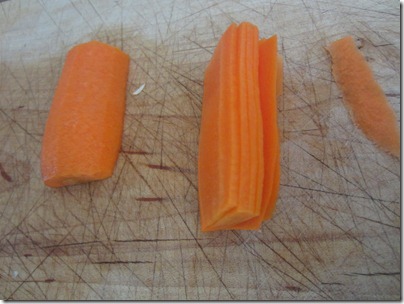
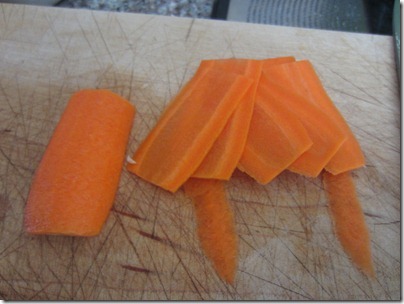
Slice into sheets.

yakisoba 023

See? Sheets.

yakisoba 024

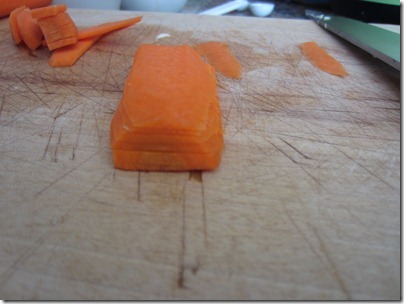
Stack.

yakisoba 025

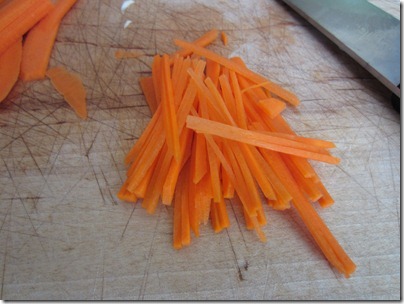
And cut into strips. Matchsticks maybe?

yakisoba 027

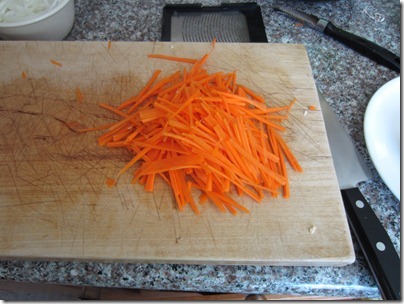
And here’s the whole carrot. Those smaller pieces are tough man.

yakisoba 028

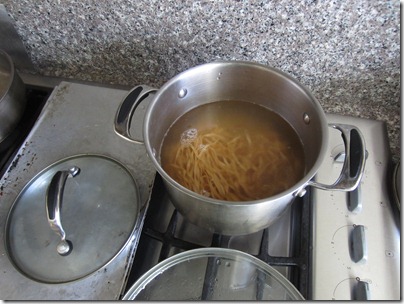
By the way, here’s what 200 grams of egg noodles look like.
yakisoba 015

As I used fresh, it didn’t even need more than 2 minutes of a dunk into boiling water to get tender.

yakisoba 016

Nothing really exciting happens. This about sums it up.

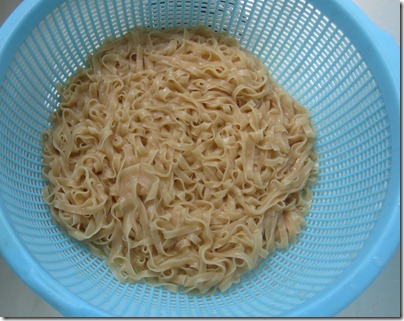
yakisoba 017

And voila, silky egg noodle sheets. Why did I pick this style? Even though all these recipes called for ramen noodles it still seemed to me as though the pictures show noodles much thicker than ramen… anyway, I’ll need to try again at some point.

yakisoba 018

A bit of sesame oil to keep them from sticking. Or a lot of it.

yakisoba 019

A revised picture of ingredients ready to go. Noodles, sauce, a small handful of washed bean sprouts, julienned carrots, sliced pork, sliced cabbage and sliced onion.

yakisoba 029

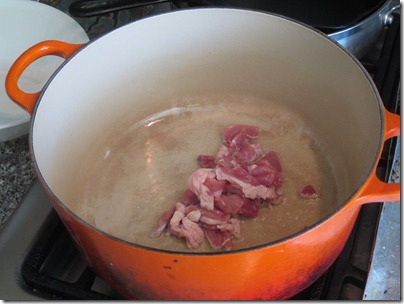
I’m an Asian without a Wok. It’s not like I’m Chinese, or it would really be unforgivable. Still, the enameled French oven seemed to work for the task.
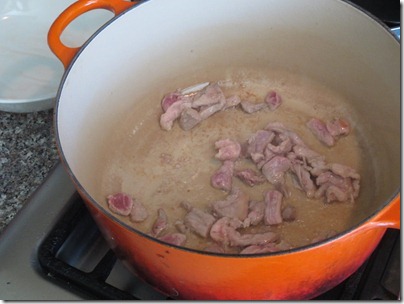
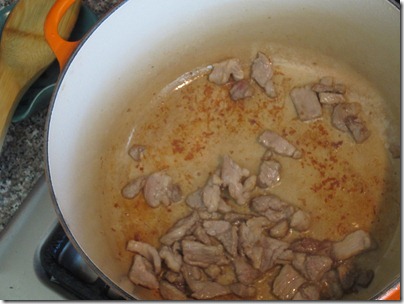
The pork pieces are browned in vegetable oil.

yakisoba 030

yakisoba 031

Smelling good!

yakisoba 032

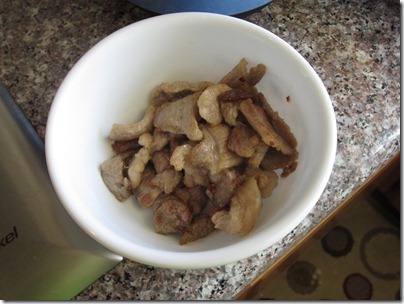
And set aside.

yakisoba 034

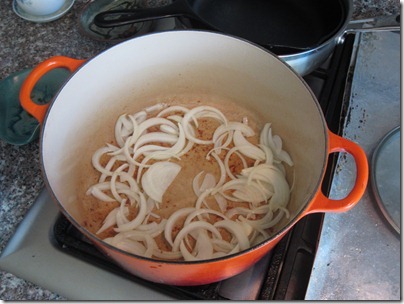
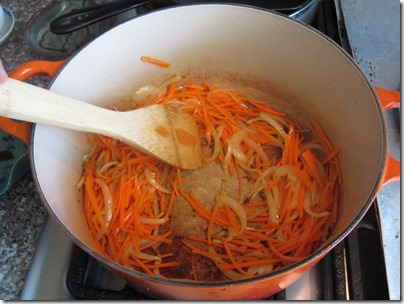
Onions start the next stage, allowed to get translucent..

yakisoba 035

..and are joined by the carrots.

yakisoba 036

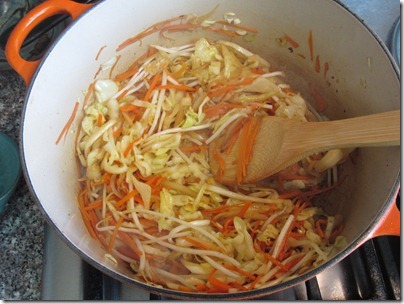
Then the cabbage. Those thick pieces should really not be that thick. To mitigate, some water was added to make some hot steam, helping break down the cabbage quicker.

yakisoba 037

The recipe didn’t state where to throw in the bean sprouts so now is a good time.

yakisoba 038

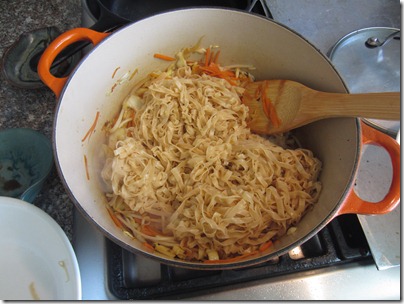
Then the noodles are thrown in as well. Some huge chopsticks really help to keep everything even distributed as you mix.

yakisoba 039

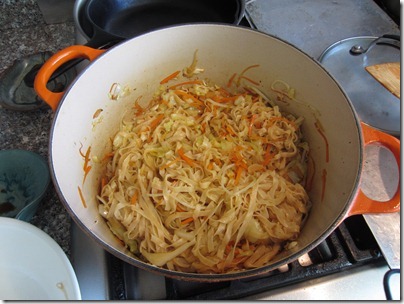
Looking good!

yakisoba 040

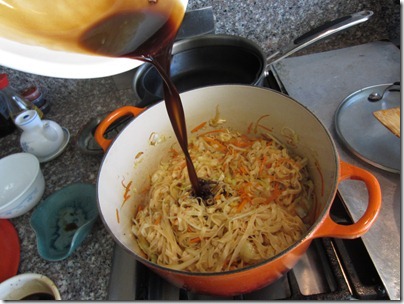
But now for the money maker. Sauce! Added about a third and tasted it. Could use a bit more. I say for eating just as Yakisoba, half of the sauce recipe is fine. More on that later.

yakisoba 041

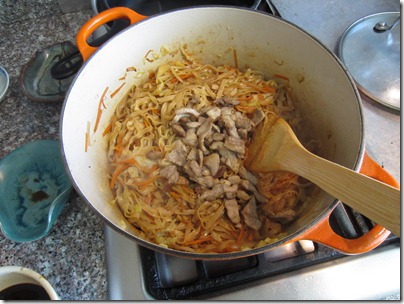
And now add the pork! Mix mix mix.

yakisoba 042

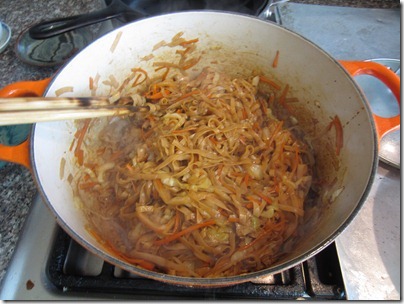
A lovely caramel color overtakes the dish.

yakisoba 043

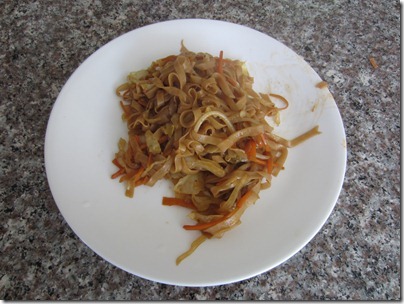
And wow! Pretty good! But I didn’t just want to make a noodle dish, I wanted the whole experience.

yakisoba 044

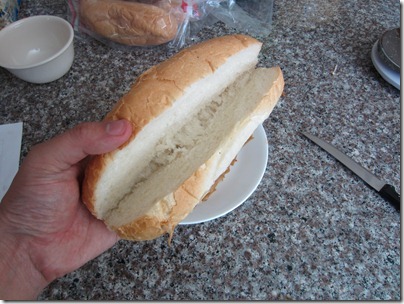
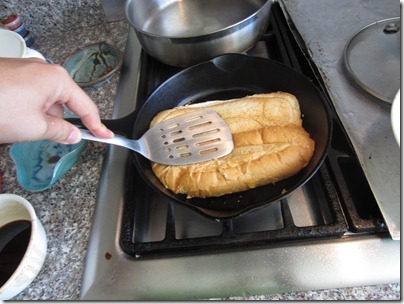
The benign Vietnamese style French roll. Great for Vietnamese sandwiches, but how about for yakisoba? Adjustments need to be made. First the split. Elementary but necessary.

yakisoba 045

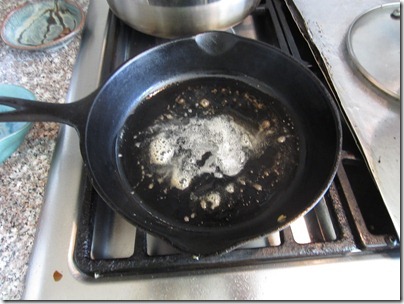
Now get your favorite medium sized pan and melt some butter.

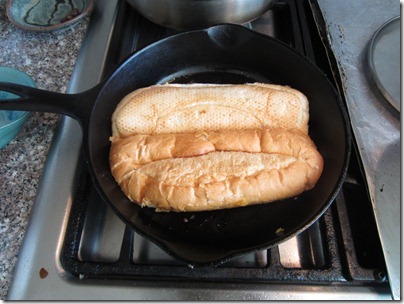
yakisoba 047

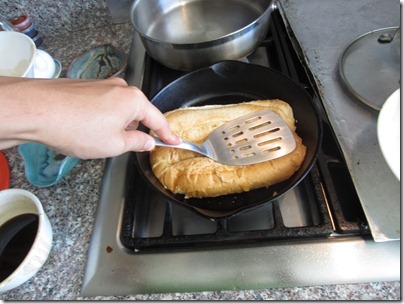
Now press!

yakisoba 048

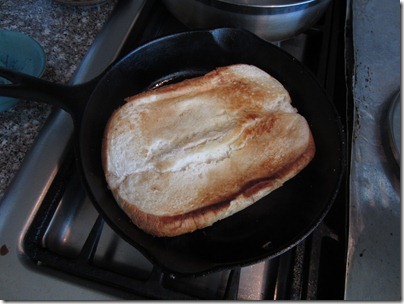
No, seriously, press it.

yakisoba 049

Everywhere. Maybe even turn it a few degrees to make sure no butter goes to waste.

yakisoba 050

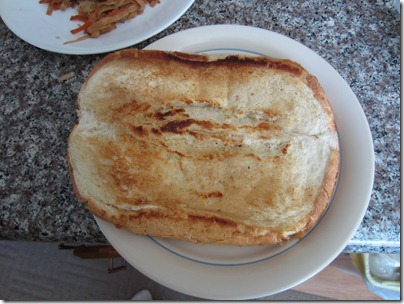
Ok not bad! Press this side too. You want to make sure the bread is heated through so you have that nicer toasted bread taste rather than that boring taste bread can have sometimes without the addition of heat. I guess this is more a problem with Vietnamese style French rolls rather than all breads.

yakisoba 051

Plate.

yakisoba 052

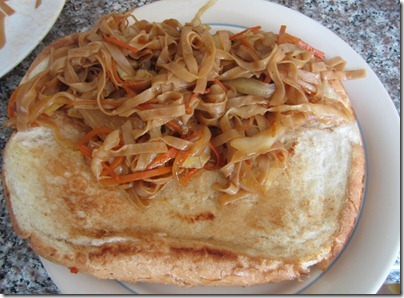
And top. Note, I have seasoned a batch of yakisoba with almost the rest of the sauce in order to amp the flavor up. That’s because bread will dilute the flavor of the yakisoba so seasoning needs to be adjusted to maintain balance.

Judgment? I loved it. Possibly inappropriate substitutions aside, I think it was a great dish, and I’ll have to make it again. The sauce had an interesting blend of sweet, tangy and salty.

Next time I think I’ll go with chicken rather than pork next time. And I’ll need to be more rigorous in tracking down the katsuobushi (dried fish flakes) and pickled ginger which apparently joins yakisoba to really round out the flavor.

yakisoba 053

Recipe in a nutshell, adapted from Asian Supper.

For the sauce, combine:
5 tbsp Worcestershire sauce
4 tbsp soy sauce
1 tbsp sugar
1 tbsp sake
1 tsp mirin
and a big squeeze of ketchup.

Set aside until called for in recipe.

Yakisoba ingredients:

200g Chinese egg noodles, or ramen noodles
1/4 lb thinly sliced pork belly (or shoulder)
vegetable oil for frying
dash of sesame oil
1/2 medium yellow onion, sliced into thin semi-circles
1 carrot, julienned
1/2 cup of mung bean sprouts
1/2 head of small cabbage, sliced

1. Prepare noodles as necessary, which really means boil until tender then drain. Sprinkle sesame oil on to keep noodles from sticking.

2. Fry up pork pieces until brown, set aside.

3. Fry onion until they start to turn translucent, then add carrots, cooking a bit. Then add cabbage and bean sprouts.

4. Add noodles, a third of the sauce, then adjust to taste. Add pork and mix well. If you’re making yakisoba bread, season more than you think you need.

5. Prepare bread as necessary (see pictures for an idea). Fill bread with yakisoba, and enjoy!